
[1. 오늘 배운 것]
1. 이클립스를 사용해서 자바 프로그램 구구단표 짜기
- MultiplicationTable 클래스와 MultiplicationRunner 클래스를 각각 생성한다
- MultiplicationTable 클래스에 구구단표를 출력하는 함수를 생성한다
public class MultiplicationTable {
void print(){
for (int i = 1; i < 10; i++) {
System.out.printf("%d * %d = %d", 5, i, 5*i).println();
}
}
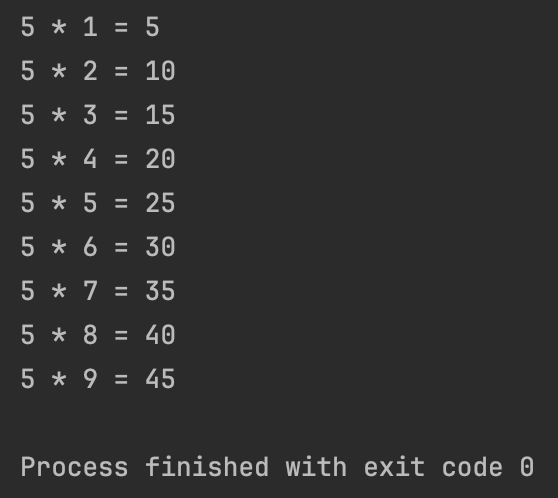
}- MultiplicationTableRunner 클래스에 구구단표 출력 함수를 호출하는 코드를 작성한다
public class MultiplicationTableRunner {
    public static void main(String[] args) {
        MultiplicationTable table = new MultiplicationTable();
        table.print();
    }
}
- 결과
2. 구구단표에 메소드 추가하기
- 몇단을 출력할건지, 곱하기 시작할 숫자와 끝낼 숫자를 고를 수 있도록 하기
- MultiplicationTable
public class MultiplicationTable {
void print(int table, int from, int end){
for (int i = from; i < end; i++) {
System.out.printf("%d * %d = %d", 5, i, 5*i).println();
}
}
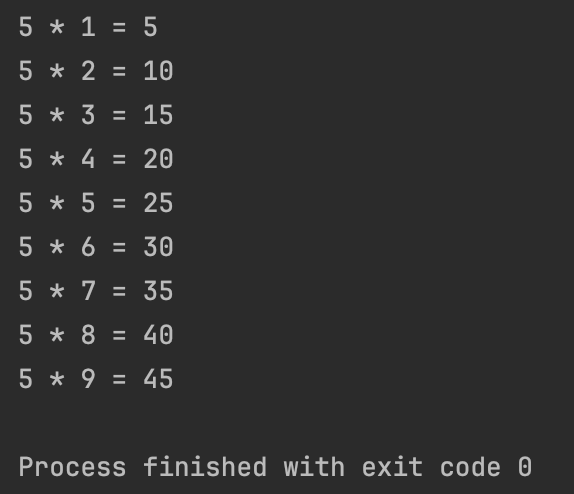
}- MultiplicationTableRunner
public class MultiplicationTableRunner {
    public static void main(String[] args) {
        MultiplicationTable table = new MultiplicationTable();
        table.print(5, 1, 10);
    }
}
- 결과
3. 코드 리팩토링, 디버깅
- 리팩토링 : 코드의 중복을 줄인다
- 디버깅 : 소스코드의 오류 또는 버그를 찾아서 수정하는 과정
4. 코딩 연습
- 시간 변환기
public class TimeConverter {
    public static int convertHoursToMinutes(int hours) {
        if (hours < 0)
            return -1;
        return hours * 60;
    }

    public static int convertDaysToMinutes(int days) {
        if (days < 0)
            return -1;
        return days * 24 * 60;
    }
}
- 시험 결과 확인하기
public class ExamResult {

    public boolean isPass(int marks) {

        return marks > 50;
    }
}
- 유효한 삼각형인지 확인하기
public class TriangleValidator {
    public boolean isValidTriangle(int angle1, int angle2, int angle3){
        if (angle1 <= 0 || angle2 <= 0 || angle3 <= 0){
            return false;
        }

        return angle1 + angle2 + angle3 == 180;
    }
}
- 직각삼각형인지 확인하기
public class TriangleValidator {
    public boolean isRightAngled(int side1, int side2, int side3) {
        if (side1 <= 0 || side2 <= 0 || side3 <= 0){
            return false;
        }

        if(side1 * side1 == side2 * side2 + side3 * side3){
            return true;
        }
        if(side2 * side2 == side1 * side1 + side3 * side3){
            return true;
        }
        if(side3 * side3 == side1 * side1 + side2 * side2){
            return true;
        }
        return false;
    }
}
- n번까지의 숫자의 제곱합
public class SumOfSquares {
    public long calculateSumOfSquares(int n) {
        long sum=0;

        if(n < 0){
            return -1;
        }

        for(int i=1;i<=n;i++){
            sum+=i*i;
        }

        return sum;
    }
}
- 윤년인지 검사하기
public class LeapYearChecker {
    public boolean isLeapYear(int year) {
        if (year <= 0) {
            return false;
        }

       if (year % 4 != 0){
           return false;
       }

       if (year % 4 == 0 && year % 100 != 0 ) {
           return true;
       }

       if (year % 4 == 0 && year % 100 == 0) {
           if (year % 400 == 0) {
               return true;
           } else {
               return false;
           }
       }

       return false;
    }
}
- 완전수인지 검사하기
public class PerfectNumberChecker {
    public boolean isPerfectNumber(int number) {
        int sum = 0;

        if (number <= 0) {
            return false;
        }

        for (int i = 1; i < number; i++) {
            if (number % i ==0 ) {
                sum += i;
            }
        }

        if (sum == number) {
            return true;
        }
        return false;
    }
}
5. 객체지향 프로그래밍
package oop;

public class MotorBike {
    void start(){
        System.out.println("Bike started");
    }
}
package oop;
public class MotorBikeRunner {
public static void main(String[] args) {
MotorBike ducati = new MotorBike();
MotorBike honda = new MotorBike();
ducati.start();
honda.start();
}
}
6. 변수를 활용한 객체 상태 변화
package oop;

public class MotorBike {
    int speed;
    void start(){
        System.out.println("Bike started");
    }
}
package oop;
public class MotorBikeRunner {
public static void main(String[] args) {
MotorBike ducati = new MotorBike();
MotorBike honda = new MotorBike();
ducati.start();
honda.start();
ducati.speed = 100;
honda.speed = 80;
ducati.speed = 20;
honda.speed = 0;
}
}
7. Setter 메소드를 활용한 캡슐화의 기본 이해
- 위의 6번 예시에서, MotorBikeRunner 클래스가 MotorBike 내 변수에 직접 접근할 수 있음
- 이는 '캡슐화'를 파괴함
- 캡슐화 : 같은 클래스만이 그 클래스의 데이터에 접근할 수 있어야 함을 뜻함
- 다른 클래스가 데이터에 접근하려면 메소드를 통해야 함
- speed 변수는 private으로 바꾸고, set메소드를 사용해 접근하도록 바꿈
package oop;

public class MotorBike {
    private int speed;

    void setSpeed(int speed){
        this.speed = speed;
    }
    void start(){
        System.out.println("Bike started");
    }
}
package oop;
public class MotorBikeRunner {
public static void main(String[] args) {
MotorBike ducati = new MotorBike();
MotorBike honda = new MotorBike();
ducati.start();
honda.start();
ducati.setSpeed(100);
honda.setSpeed(80);
ducati.setSpeed(20);
honda.setSpeed(0);
}
}
8. Getter과 E를 활용한 Getter와 Setter생성
- setter로 바뀐 변수값을 알아내려면, getter 메소드를 사용하면 됨
package oop;

public class MotorBike {
    private int speed;

    void setSpeed(int speed){
        this.speed = speed;
    }

    int getSpeed(){
        return this.speed;
    }

    void start(){
        System.out.println("Bike started");
    }
}
package oop;
public class MotorBikeRunner {
public static void main(String[] args) {
MotorBike ducati = new MotorBike();
MotorBike honda = new MotorBike();
ducati.start();
honda.start();
ducati.setSpeed(100);
System.out.println(ducati.getSpeed());
honda.setSpeed(80);
System.out.println(honda.getSpeed());
ducati.setSpeed(20);
System.out.println(ducati.getSpeed());
honda.setSpeed(0);
System.out.println(honda.getSpeed());
}
}
9. 캡슐화의 이점
- 메서드를 통해 외부의 잘못된 접근을 방지할 수 있다
    void setSpeed(int speed){
        if(speed > 0)
            this.speed = speed;
    }
- 메서드를 통해 코드의 중복을 줄일 수 있다
    void increaseSpeed(int howMuch) {
        this.speed = this.speed + howMuch;
    }

    void decreaseSpeed(int howMuch) {
        this.speed = this.speed - howMuch;
    }
10. 캡슐화의 개선
    void decreaseSpeed(int howMuch) {
        setSpeed(this.speed - howMuch);
    }	//0 밑으로 떨어지지 않도록 검증, setter를 호출해 중복 없음
[2. 오늘 잘한 점]
팀스터디 시간에 발표를 잘 준비해와서 나름 퀴즈도 내고 즐겁게 했다.
[3. 개선해야할 점]
오늘 잠을 9시간이나 자고 와서 하품을 200번은 한 것 같다. 방금도 쓰면서 또했다. 앞으로는 잠을 좀 적당히 자서 몸이 덜 노곤하도록 해야겠다
'부트캠프' 카테고리의 다른 글
| [TIL] 유데미X사람인 취업 부트캠프 20일차 / java (1) | 2024.01.11 |
|---|---|
| [TIL] 유데미 X 사람인 취업 부트캠프 19일차 / java (0) | 2024.01.10 |
| [TIL] 유데미X사람인 취업 부트캠프 17일차 / (1) | 2024.01.08 |
| [TIL] 유데미X사람인 취업 부트캠프 16일차 / JShell, 자바 기초 (1) | 2024.01.05 |
| [TIL] 유데미X사람인 취업 부트캠프 15일차 / SQL 데이터베이스 생성, 관리 (1) | 2024.01.04 |


